State-of-the-Art 3D Scanning for Cast Products
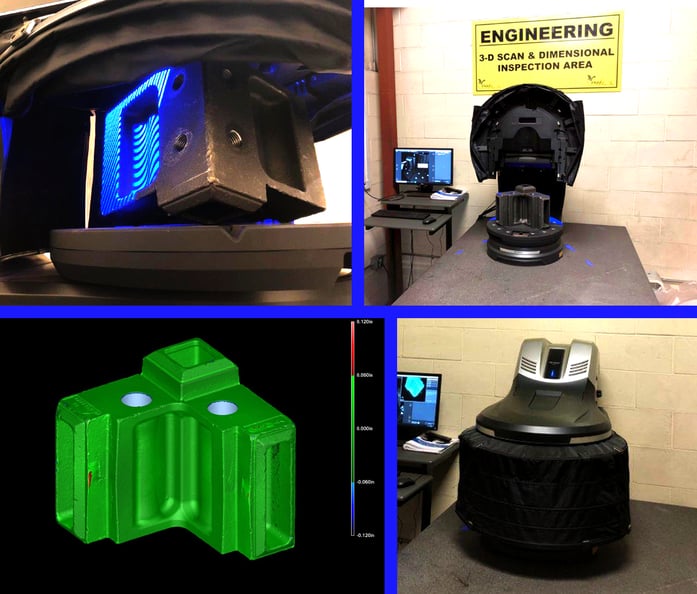
The Eagle Group Blog previously wrote about our handheld laser scanner, capable of processing 1-2 million individual location points to accurately measure any surface. We recently built on that capability and purchased a Keyence VL-550 3D scanner CMM. The intuitive user interface, proprietary software and raw scanning power of the new equipment means we can process samples faster than ever before. By reducing measurement time and improving ease of use, we also open up a number of opportunities for advanced quality control.
From reduced turnaround time to improved precision, our new blue light scanner makes the Eagle Group an even more reliable casting partner than before.
What is the Keyence VL-550?
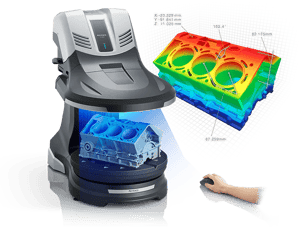 The Keyence VL-550 is a turntable-style 3D scanner CMM (for more information about types of CMMs and how they work, check out our other post). The scanner bounces light off the surface of the object to produce high-accuracy scans with up to 16 million data points. That's over 8x the accuracy of our previous laser scanner, and about 320,000x the accuracy of a standard PPAP evaluation.
A spinning table holds the part to be scanned, with a maximum weight of 110 lbs. At the Eagle Group, we regularly produce cast parts over 40 lbs, so we require a heavy-duty platform. If we need to scan a part over 110 lbs, we can simply detach the scanner head from the turntable and attach it to a larger stand. Keyence software makes it easy to stitch together multiple scans of larger objects. On the other end of the spectrum, if we're working with smaller parts, we can scan multiple castings at one time.
Best of all, the new 3D scanner requires very little input to set it into motion, because it automatically detects the size of the object and spins the table for reorientation. Proprietary software then allows operators to create a digital mesh from data points and compare them with nominal measurements to gage conformity. A number of visual representations are possible–for example, a heat map can use different colors to show undersized dimensions, oversized dimensions and in-tolerance dimensions.
Keyence software is user-friendly, but it's by no means simple. According to Eagle Alloy engineering clerk Dakota Hanson, "It's easy to use, but there's a ton of features to know about: taking measurements, taking sections, GD&T. You can do whatever you can imagine in the software, you just have to know what you want."
When do we use the scanner?
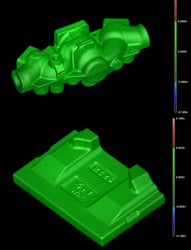 The majority of the time we use the Keyence scanner is during the end of the design phase, when we are providing product samples or capability studies. Specific instances include:
- Sample production: Eagle Alloy, a shell molding foundry, produces a pre-run of parts for every new design. These parts are then scanned, measured and compared to nominal dimensions before full production begins. Eagle Precision, an investment casting foundry, uses the scanner for capability studies, wherein 30-32 parts are scanned and measured to show how closely tolerances can be held. The scanner's pinpoint accuracy is a major advantage in investment casting, because dimensional characteristics are often very intricate.
- Tooling evaluation: In addition to sampling parts, Eagle Precision also scans injection dies and wax patterns (components of investment casting tooling). Eagle Alloy also scans new tools upon receipt, either from a previous foundry or from a customer. Based on the scans, engineers are able to evaluate dimensional accuracy as well as wear-and-tear on the tooling.
- Tooling wear over time: Even compared to other scanning measurements, the Keyence lends itself well to ongoing studies of tooling wear. Since it takes such a small amount of time, both Eagle Alloy and Eagle Precision are able to measure tooling throughout its lifecycle to determine wear rates. This information can be valuable to the customer, who is concerned about the cost of tooling maintenance and replacement, as well as to the foundry, who is responsible for maintaining dimensional conformity as long as production continues.
To learn more about product development at the Eagle Group, read our blog series.
Why do we need a state-of-the-art 3D scanner?
Truthfully, we don't need a 3D scanner like the Keyence VL-550. We can use tried-and-true measurement methods like calipers and height gages to measure dozens of points on each part, manually. But while many foundries rely on manual measurements, the process is flawed in a number of ways: namely, accuracy and repeatability. Each operator who manually measures a part will come out with different values, and none of them are exactly correct. With the 3D scanner, we get the same measurements every time, and we don't get a dozen or 20 or 50 points, we get up to 16 million. The accuracy of measurement imparted by this equipment is beyond comparison.
Advanced scanning capabilities give the Eagle Group a major advantage for developing new parts. We can quickly gage the accuracy of new tooling. We can easily demonstrate that parts will conform to nominal standards. We can reverse engineer products, we can diagnose casting issues and we can even assess deterioration of casting tooling.
Continuous improvement is built into the Eagle Group's business model, and upgrading our scanning capabilities is a perfect example of how we strive to always stay ahead of the curve.
Tags: Product Design, Development, Product Development, Measurement, 3D Scanning
Written by Nic Tarzwell
Nic Tarzwell is Chief Technical Officer at Eagle Alloy, Inc. He has been with the company since 2007.
