CNC Metrology: What Can a CMM Measure?

Coordinate Measuring Machines, known more often as CMMs, are a staple of industrial metrology. Of the thousands of variations of CMMs, you're likely to encounter at least one version in every manufacturing quality control department. You might not recognize it at first because CMMs can look like, well, pretty much anything–but in any form, these hard-working machines allow manufacturers to accurately measure a long list of product characteristics.
Sure, manufacturers could still measure their products the old fashioned way–with a good set of calipers and a lot of trigonometry–but in today's competitive environment, we need to take measurements in minutes, not days. We also require superior accuracy, sometimes down to .00005".
Basic Types of CMMs
Manual CMM: controlled by a human operator, these old-school CMMs are less expensive and often faster to set up than their digital counterparts. Due to human error, manual CMMs usually can't provide the most accurate or precise measurements.
DCC (Digital Computer Control) CMM: These computer-controlled CMMs are like a manual CMM with a computer brain. They must be programmed and calibrated for each new job. Once calibrated, they rely very little on human operation to take actual measurements.
Portable Laser Scanner: While technically a type of DCC CMM, portable scanners function in a dramatically different way from their forebears. They often look like some sort of futuristic weapon, and they allow operators to quickly take instantaneous measurements in three dimensions.
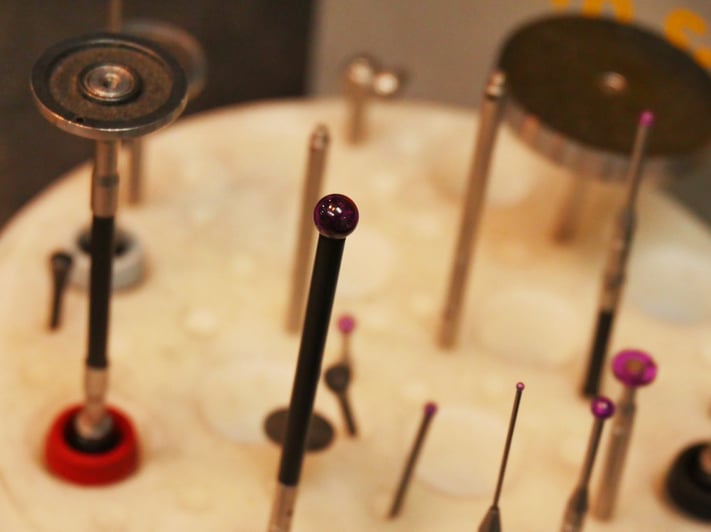
Mechanical, optical, light or laser probes: The "probe" component is the part of the machine that comes into contact (as it were) with the surface being measured. A few basic probes further diversify CMM offerings:
- Mechanical: when the probe actually touches the surface being measured
- Optical: when the CMM measures distance by visually sensing changes along a surface
- Laser: the most modern measuring type, allowing CMMs to plot thousands of data points simultaneously.
What CMMs Can Measure
By now you know that metrology is a lot more complicated than calculating the length, width and height of an object. When it comes to machined parts, all kinds of dimensions need to be considered, and measured with great accuracy.
A skilled metrologist and a well calibrated CMM can obtain the following measurements from any part that fits on the table:
- Straightness: how close a 1D characteristic is to a theoretical straight line.
- Flatness: how much a 2D plane varies along its surface.
- Roundness: how close a 2D characteristic, like a bore or an extrusion, is to a circle.
- Cylindricity: how close a 3D form characteristic is to a cylinder.
- Conicity: how close a 3D form characteristic is to a cone.
- Angularity: how closely a given angle matches its intended angle.
And of course, the list goes on. Any characteristic that exists in one, two or three dimensions can be measured. Even better, modern CMMs allow 3D scans to be imported directly into design software, where any number of measurements can be taken with a few clicks.
Still, no matter how advanced technology has become, taking complex measurements requires the knowledge and expertise of a good metrologist. Even the most powerful computer can't tell you what it is that you want to measure.
Learn more about metrology and CNC machining
- 7 Essential Metrology Tools for Modern CNC Machine Shops
- Measuring Standards: From Pharaohs' Forearms to the Speed of Light
Read more about Machining, Measurement and Inspection tools in modern CNC machine shops: download our CNC Machining Process Guide ebook.
Tags: CNC Machining, Metrology


